
Elementor is one of the most popular page builders among WordPress users. Its easy-to-use interface and amazing features allow anyone to create amazing-looking websites without typing a single line of code.
Despite its easy-to-use interface, there’s still a learning curve associated with it. Hence, as a beginner, you might struggle a bit with using Elementor page builder. To help you with the usage of Elementor page builder, we have come up with this article.

In this article, we are going to dive deep into some of the super easy page builder tips and tricks. These Elementor tips and tricks will help you use the Elementor page builder more effectively to give an eye-appealing look to your website. So, stay tuned and read this blog till the end.
Super Easy Elementor Tips and Tricks
The super easy Elementor page builder tips and tricks are mentioned below:
- Effective use of Navigator
- Use Shape Divider
- Use Global Colors and Fonts
- Use Elementor Templates
- Use Pro and Global Widgets
- Custom CSS
- Use Shortcodes
- Use Revision Feature
Let’s take a look at all of these Elementor tips and tricks in detail.
Effective Use of Navigator
The navigator feature in the Elementor page builder is a powerful tool that can help streamline your workflow. With the navigator, you can easily navigate through the different elements of your page, rearrange them, and make edits quickly.
Here are some Elementor tips on how to use the navigator effectively:
Open the Navigator panel.
To access the navigator, click on the navigator icon in the bottom left-hand corner of the Elementor interface. The navigator panel will open on the right side of the screen.
Navigate through your page.
The navigator panel will display a list of all the elements on your page, including sections, columns, etc. Use the scroll bar to navigate through the list, or use the search bar to find a specific element.
Rearrange elements.
To rearrange elements on your page, simply drag and drop them to a new location in the navigator panel. The changes will be reflected in real-time on your page.
Edit elements.
To edit an element, simply click on it in the navigator panel. The editing options for that element will appear on the left-hand side of the Elementor interface.
Hide or show elements.
To hide an element on your page, click the eye icon next to it in the navigator panel. To show a hidden element, simply click the same icon again.
By using the navigator in these ways, you can save time and increase your productivity when building pages in Elementor.
Use Shape Divider
The shape divider is a feature in Elementor that allows users to add a unique design element to their page layouts. With the shape divider, you can add a creative touch to your page and make it stand out from the rest.
Access the Shape Divider.
To use the shape divider, you must first create a section in Elementor. Once you have a section created, click on the section settings icon and navigate to the “Style” tab. In the “Shape Divider” section, click the “Add a Divider” button to access the shape divider settings.
Choose your Shape.
The shape divider offers a variety of shapes to choose from, including waves, curves, triangles, and more. You can also adjust the thickness, height, and color of the shape to fit your design needs.
Position your Shape.
You can choose to position your shape divider at the top, bottom, or middle of your section. You can also adjust the angle of the shape to create a more dynamic effect.
Experiment with Multiple Shapes.
You can add multiple shape dividers to a single section to create a more complex design. Experiment with different shapes and colors to find the perfect combination for your page.
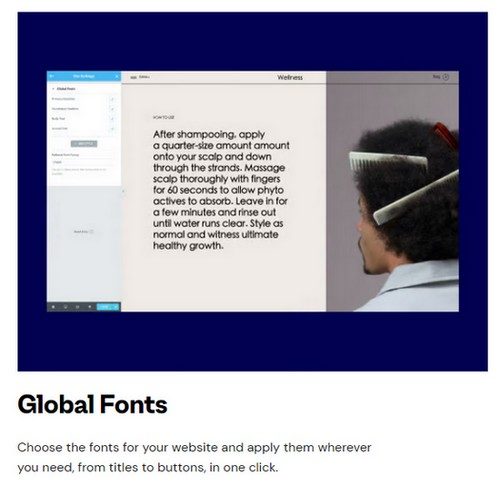
Use Global Colors and Fonts
Global colors and fonts in Elementor allow you to maintain consistency and brand identity throughout your website. By setting up global colors and fonts, you can easily apply these styles to multiple elements on your website.
Here are some of the Elementor tips for effectively using global colors and fonts:
Set up Global Colors.
To set up global colors, navigate to the Elementor settings and click on the “Style” tab. From there, you can create a new color palette or edit an existing one. Once you’ve created your color palette, you can easily apply these colors to any element on your website.
Use Color Swatches.
Elementor also offers color swatches that allow you to easily access your global colors while designing your pages. Simply click on the color swatch icon and select your desired color from your global color palette.
Set up Global Fonts.
To set up global fonts, navigate to the Elementor settings and click on the “Typography” tab. Proceed to create a new font or you can also edit an existing font. Once you’ve created your font set, you can easily apply these fonts to any element on your website.
Apply Styles Consistently.
By using global colors and fonts, you can ensure a consistent look and feel throughout your website. Be sure to apply these styles consistently to all elements, including headings, paragraphs, buttons, and more.
Use Elementor Templates
Elementor templates are pre-designed layouts that can be easily imported and customized to create stunning pages on your website. Templates are available for various types of pages, including homepages, about pages, contact pages, and more.
Browse Templates.
Elementor offers a wide range of templates that are available in the Elementor library. To access the templates, click on the “Templates” button in the Elementor interface, and browse through the available options.
Also, there are numerous WordPress themes compatible with Elementor page builders. You can find these themes on any reputable WordPress theme marketplace. These themes offer a range of features such as pre-designed templates and seamless integration with Elementor’s drag-and-drop editor.
Preview Templates.
Before importing a template, it is important to preview it to ensure that it fits your design needs. Elementor allows you to preview templates before importing them, giving you a better idea of how they will look on your website.
Import Templates.
Once you have found a template that you like, simply click the “Import” button to add it to your website. The template will be added to your page as a new section, which you can then customize to fit your needs.
Customize Templates.
Elementor templates are fully customizable, allowing you to change the colors and other design elements to fit your brand identity. You can also add or remove sections, and rearrange the layout as needed.
Save Custom Templates.
Once you have customized a template, you can save it as a custom template for future use. This can save time when creating new pages on your website. As you can simply import your custom template and make any necessary adjustments.
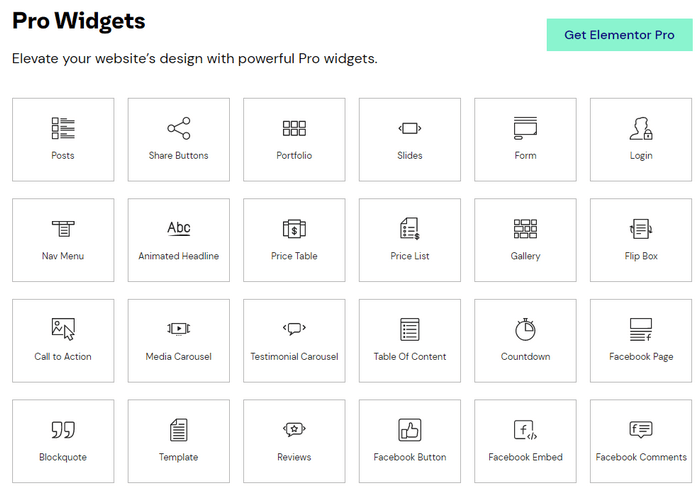
Use Pro and Global Widgets
Pro and global widgets are two powerful features in Elementor that can help you create a more advanced design for your website. Confused about using the pro and global widgets? Well, don’t worry. Just follow the tips mentioned below to use pro and global widgets with ease.
Understand the Difference.
Pro widgets are exclusive to Elementor’s pro version. They provide additional design elements and functionality that are not available in the free version of Elementor. Global widgets, on the other hand, are reusable design elements that can be used across multiple pages on your website.
Use Pro Widgets for Advanced Design.
Pro widgets can be used to add advanced design elements to your pages, such as pricing tables, sliders, and forms. These widgets offer additional customization options that can help you create a more unique and engaging design.
Create Global Widgets for Consistency.
Global widgets are great for maintaining consistency throughout your website. By creating a global widget for a header you can ensure that these design elements are consistent across all pages on your website.
Customize Global Widgets for Each Page.
While global widgets are great for consistency, they can also be customized for each page. By adding a global widget you can create a unique design while still maintaining consistency with other pages on your website.
Custom CSS
Custom CSS in the Elementor allows you to add additional styling to your website beyond the available options of the Elementor. By using custom CSS, you can create a more unique and customized design for your website. Here are the simple tips to get the best out of custom CSS functionality:
Understand CSS.
CSS stands for Cascading Style Sheets, and it is the language used to style web pages. It is important to have a basic understanding of CSS before using custom CSS in Elementor.
Use Custom CSS for Specific Elements.
Custom CSS can be applied to specific elements on your website, such as headings, paragraphs, and buttons. By targeting these elements with CSS, you can add additional styling that is not available through the Elementor interface.
Use Custom CSS for Global Styling.
Custom CSS can also be used for global stylings, such as changing the font or color of all headings on your website. By using custom CSS for global styling, you can maintain consistency throughout your website.
Use a Custom CSS Plugin.
Elementor offers a Custom CSS plugin that makes it easy to add custom CSS to your website. This plugin allows you to add CSS code directly in the Elementor interface, without having to modify your website’s code.
Test Your Custom CSS.
It is important to test your custom CSS to ensure that it is working correctly and not causing any conflicts on your website. Elementor offers a preview mode that allows you to see how your website looks before publishing any changes.
Use ShortCodes
Shortcodes are small pieces of code that allow you to add dynamic content and functionality to your website. Shortcodes are supported by many WordPress plugins and themes, including Elementor.
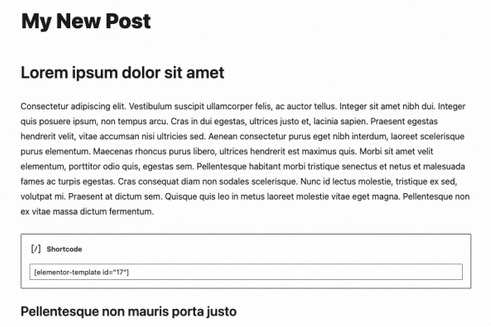
Understand What Shortcodes Are.
Shortcodes are snippets of code that are added to your content in brackets, like [shortcode]. They are a simple way to add dynamic content and functionality to your website.
Use Shortcodes for Dynamic Content.
Shortcodes can be used to add dynamic content to your website, such as displaying the current date or time.
Use Shortcodes for Functionality.
Shortcodes can also be used to add functionality to your website, such as adding a contact form or displaying a slider.
Use Shortcodes from Trusted Sources.
When using shortcodes, it is important to make sure that they are from trusted sources. Shortcodes from untrusted sources can potentially harm your website’s security and functionality.
Use Revision Feature
The revision feature in Elementor is a useful tool that allows you to view and restore previous versions of your pages. This feature can be especially helpful if you accidentally delete content or make changes that you later regret.
Understand How Revisions Work.
Every time you make a change to a page or template in Elementor, a new revision is created. These revisions are stored in your website’s database and can be accessed through the Elementor editor.
Use Revisions to View Previous Versions.
If you want to view a previous version of your page or template, simply click on the revisions icon. This will display a list of all the revisions that have been created for that page or template.
Use Revisions to Restore Previous Versions.
If you want to restore a previous version of your page or template, simply click on the revision that you want to restore. Afterward, click on the restore button, this will revert your page or template to the selected revision.
Use Revisions to Compare Changes.
If you want to compare changes between different revisions, you can use the compare feature in the Elementor editor. This will allow you to see exactly what has changed between different revisions. So, you can make more informed decisions about which version to restore.
Conclusion
The Elementor page builder makes it easy to create a website in just a few clicks without even typing a single line of code. The Elementor tips and tricks we discussed in this blog make it a lot easier to give a visually appealing look to your website.
From navigator to shortcodes and revisions, every feature we discussed in this blog will help you create an eye-catching website. So, what are you waiting for buddy? Go and use these simple and super easy Elementor tips and tricks while designing your website.
Image Courtesy – Elementor.
Disclosure: We sometimes use affiliate links in our content. Some of the links in this post are “affiliate links.” It means if you click on the link and purchase the item, we will receive an affiliate commission. It helps our website keep on running and allows us to offset our writing team’s cost. Thanks for your support.
WPBN is curated news aggregator website focusing on trending and hot news from the WordPress community.