As of now, Elementor has over 3 million active installations. More and more users prefer to keep things easy while having to deal with website content.
That being said, everybody is looking for a method that allows editing site without touching a single line of code and creating more sophisticated projects easier. CrocoBlock is the right thing for such occasions, it will help work with the projects built with Elementor.
WordPress developers, web studios, and freelancers have already paid attention to this subscription service. They’ve all been satisfied with the flexibility and advanced functionality CrocoBlock offers.
If you’ve not been aware of CrocoBlock yet, the further information that describes the service will give you a better understanding.
CrocoBlock Subscription Service Contains:
- 30 skins on various topics developed for Elementor page builder (blogging, business, corporate, etc.);
- 1000+ premade sections with modular functionality;
- A set of 10 Jet plugins featuring all content types and functionality;
- 24/7 premium support;
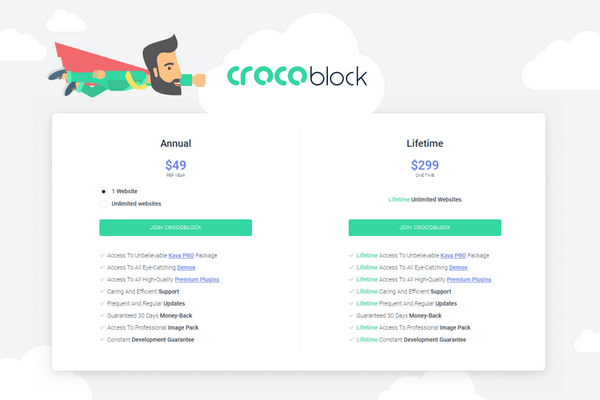
- Yearly or lifetime licensing.

With this pack, you will get an opportunity to build a website from scratch without many efforts. Let’s follow a step-by-step guide on how this can be done if you use the Elementor Free version and Single Annual License at CrocoBlock.
Step 1. Installation

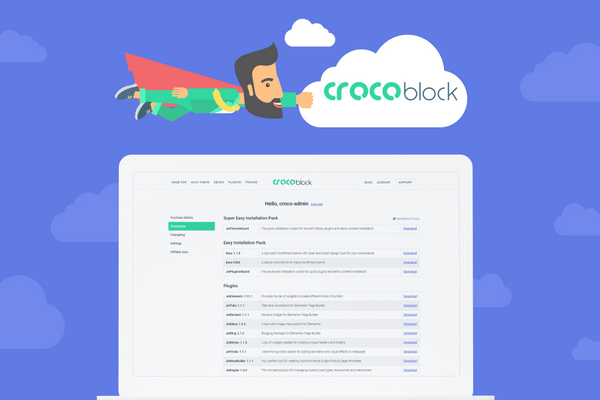
Once you’ve subscribed to CrocoBlock, you will get to Downloads section from your account page. Here you’ll find three options. Any of them can take you through the whole installation process:
- Super Easy Installation Pack. It has been developed for those preferring to install all CrocoBlock products at a time. This includes Kava theme (free download) along with Jet plugins set and demo content
- Easy Installation Pack. Lets you install CrocoBlock products and Kava theme separately. If you do not want to go with Kava, you may select any other WordPress theme.
- Jet Plugins Pack is good to go if you are not sure if you want to use anything else except Jet plugins along with the skins and premade sections.
Let’s assume we’ve decided to select CrocoBlock Super Easy Installation Pack to learn more about service functionality. We’ve also prepared the site with a clean WordPress installation on it.
With the help of JetThemeWizard, the whole installation process will take less than 2 minutes.
During the installation, we’ve applied the license key and selected the Kava Child theme for use.
Next, we’ve chosen one of the skins from the list and clicked ‘Start Install’ button.
After that, the plugins needed for the skin can be tweaked a bit. They are split into Required, Recommended, and Extra Blocks. Select all of them, or several ones you want, and hit the ‘Next’ button to run the installation. The process is prompt and takes approximately 40 seconds.
After selecting ‘Append demo content to existing content’ option we’ve proceeded to its installation by clicking the ‘Next’ button. The installation has taken not more than 20 seconds, while the process of regenerating thumbnails has taken some time.
The average setup time on a clean WordPress site takes about 2 minutes. Yet, it depends on the server you use and the volume of content already existing on your website. In case it is a working site filled with the content, the installation may last a little longer. But, still, the process is very easy and convenient.
Step 2. CrocoBlock Dashboard

Once CrocoBlock is installed, it becomes visible from the WordPress Dashboard. Let’s take a closer look at each of the blocks one may find at the dashboard:
- The license contains the code active on the site.
- Plugins block gives you access to all the plugins available in CrocoBlock service. You may install them, turn them off, and update them at any time.
- Theme block allows updating and backing up Kava theme.
- Skins block lets you choose and install a different skin instead of the used one.
- Settings block provides access to location relations, locations registration, etc.
- User Guide features links to the documentation, knowledge database, and video lessons about CrocoBlock products.
Let’s imagine that we are changing the skin to a different one, selecting Dolcetti skin, and proceeding to installation.
The skin demands the same plugins already installed on the website, so the plugins installation option should be skipped, and we hit ‘Skip to Demo Content’ button.
The skin installation takes no longer than a minute. To be honest, the process reminds the first installation of CrocoBlock, yet it is faster.
Step 3. Theme Part Templates
JetThemeCore add-on allows working with theme part templates including sections, archives, headers, footers, and single post pages. To place them on your website, go to ‘CrocoBlock > My Library’ in the WP dashboard.
Since we’ve previously set one of the skins that already comes with header and footer templates, they can be found in Header and Footer blocks and edited using Elementor page builder.

Any changes or customization applied to the header template can be done from Elementor. Besides, you have a chance to create various header and footer templates to set them to various pages in ‘Settings > Conditions’ Block.
To get to the headers library, all you have to do is just click Magic Button, pick one of the offered header templates, and click the ‘Insert’ button to add it.
Next, navigate to ‘Settings > Conditions’ block to choose the page or a template you want to add a header to. A new footer can be applied and used ditto.
If you’ve decided to create an Archive page template, go to ‘Archive’ block in ‘Theme Parts’ and create the Archive template.
You will be immediately redirected to Elementor editor where you can find dynamic content widgets for displaying current publications on your website including custom posts, products, terms, and much more.
As of now, ready Archive templates are not available for selecting from Magic Button, yet, the developers tend to implement the project in the nearest future.
For the word, if you need to create a custom post type, apply a custom extra classification, or meta field including a specific type of content. Everything can be done with the help of JetEngine add-on included in the CrocoBlock pack as well.
Step 4. Building a Menu
Once the header is set, you may want to add a menu to it thorough Nav Menu or Hamburger Panel widget. But, do you really need these troubles? We recommend going ahead with JetMenu plugins right away. It will help you create a vertical and horizontal mega menu with ease.
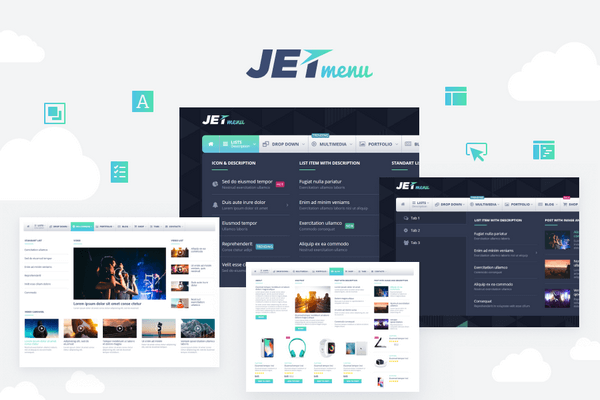
If you, for instance, want to build a horizontal menu and apply it to the header, install the appropriate plugin from ‘CrocoBlock > Plugins’ and then go to ‘Appearance > Menus’ to check out your main menu.
If you’ve decided to apply a mega menu to About element, all you have to do is just hover it and click JetMenu button to open up the Content pop-up.
Then enable Mega Submenu and hit Edit Mega Menu Item Content option. After that, on Elementor editing page you can structurize content with sections and columns, add some widgets into them. To save the template, click the ‘Update’ button.
To apply the mega menu to the header template, open ‘CrocoBlock > My Library’ and start modifying a specific header template.
Find Mega Menu widget and set it in a specific section. Then, you need to choose a menu to make use of, apply some adjustments to its look in Style block, and you are all set.
Incidentally, if you want to preview the mega menu item, hover on the required item you’ve applied the mega menu too, and it will be shown.
Even though we’ve chosen horizontal menu presentation, there is also a possibility to create vertical menus with mega menu items.
When it comes to creating a menu, JetMenu plugin does its job to the fullest. It is easy to customize and makes the menus, created with its help, fully responsive.
Step 5. Jet Plugins for Elementor
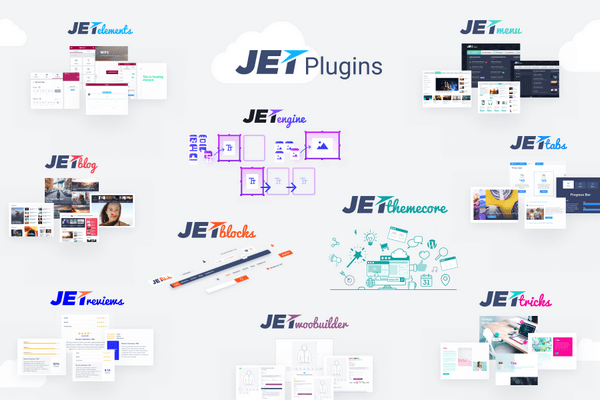
JetMenu is one of the Jet plugins available at CrocoBlock. These add-ons had gained immense popularity long before the service was developed and launched. Today, we cannot ignore the value of Jet plugins on the web market. As we’ve already mentioned, there 10 plugins available, and we want to cover the rest of them further:
- The JetElements plugin adds 30+ brand new widgets to Elementor. Among them, you’ll find Inline SVG, Banners, Portfolio, Image Layouts, Timeline, and many more. Each widget features extensive settings and embraces any type of content.
- The JetBlog plugin includes 4 various dynamic content widgets. They allow posting in listings, tiles, and text tickers.
- JetTabs add-on provides widgets for making the content look more attractive and structured by adding tabs and accordion blocks to the page. The plugin lets you place templates built with Elementor into vertical and horizontal tabs. This helps to save some space on your web page.
And Even More Plugins
- JetTricks plugins allow you to add visuals and animations to sections, columns, and widgets built with Elementor.
- JetBlocks add-on has been developed to help you add login and search forms, WooCommerce cart, and Hamburger panel elements to the header. With JetBlocks, you may also use a sticky effect if want to build a sticky header.
- JetReviews plugin is a perfect solution for applying elegant review blocks to your pages.
Except for the plugins mentioned in the above list, there are also JetEngine, JetThemeCore, and JetWooBuilder CrocoBlock products. Some of them have already been described, the other will be reviewed further.
Step 6. Single Post Pages. Developing an Archive Page
In this paragraph, we are going to provide some information on how to act when one needs to create custom post types. Whether you want to create any kind of custom post types including Services or Portfolio pages, you will need to use JetEngine plugin.
It will also let you develop custom taxonomies, single custom post or custom term templates along with dynamic grid layouts. The last ones will help you apply an Archive template together with your custom posts or terms. Make sure you’ve installed and enabled JetEngine plugin before that.
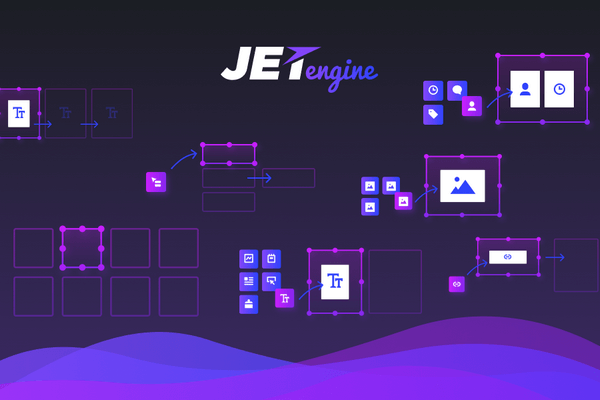
Let’s imagine you are displaying your projects. The first thing you have to do to apply projects post type is to go to ‘JetEngine > Post Types’ and hit ‘Add New’ button.
Then, complete the information about your custom post type including title and slug, and apply changes to the post settings.
Once the changes are applied, determine a new item in your Dashboard called ‘Projects’. It may come with the icon if you’ve recently set the one for it. Add a few projects making use of this new custom post type block, and apply the thumbnails to them.
Go back to ‘JetEngine > Listings’, build a new listing with the help of Post type, and characterize the Projects post types as your important post source.
Next, you may apply a few dynamic fields and the dynamic image widget to the page and choose the content source you want to display. This may be title and content for the dynamic fields as well as the thumbnail in the Dynamic Image widget.
Besides, if you want to show off the date and the author of your custom post templates, feel free to add Dynamic Meta widget.
To showcase the projects in a grid, create a new Archive template and apply Listing Grid widget to it.
If not use custom taxonomies and apply more complicated filters to the grid layout, the overall process of creating custom post pages takes about 5 minutes.
Even though the JetEngine plugin is a fairly new CrocoBlock product, it still provides great features and extended functionality. Being quite distinctive on its own path, it gives the users an opportunity to deal with more sophisticated projects.
Step 7. Presenting WooCommece to Elementor
If you tend to build an online store with the help of Elementor page builder and search for a perfect solution for implementing the task, CrocoBlock and integrated JetWooBuilder plugin will help you reach the goal.
Except for the plugin, you will also get premade Single product page templates and 15 dynamic content widgets allowing you to showcase WooCommerce content and jazz it up without coding.
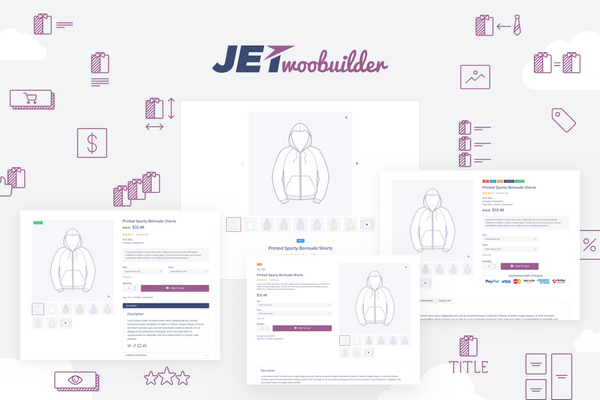
JetWooBuilder plugin enables:
- Building WooCommerce Single Product page templates;
- Applying product and product classification layouts;
- Showing off the dynamic content along with the set of specific widgets specifically developed for WooCommerce items.
Prior to creating a new product page template add some WooCommerce products to the website. To proceed with it, go to Products > Add New in WP dashboard. Here, you may add a few products applying some description, prices, thumbnails, whatever.
After that, go to WooCommerce > JetWoo Templates block and create a new template. Make sure you’ve indicated the product you will set the template to. Dynamic WooCommerce widgets will help you obtain the required information from the product you have set, e.g. thumbnail images, reviews, rating, price, and other
Then, you may add one of the existing premade templates for the Single product pages or develop your own template from scratch.
Opening Elementor editor you will find the set of widgets that can be used for the Single product page including Add to cart button, Single Image, and Single Title. It is quite simple to create a Single Product page. All you have to do is just put the widgets to the specific columns and sections, and modify the look of them via Style settings.
If you tend to apply the newly established template to all the products available on your web resource, navigate to WooCommerce > Settings block, hit JetWooBuilder tab, and get to the Single Product template condition settings.
Now, you are able to apply the products grid or tiles to the main page or show off the product categories layout on your Store page using one of the layout widgets. There are 4 types of widgets:
- Categories Grid;
- Products List;
- Products Grid;
- Taxonomy Tiles.
Every widget has order, query, and powerful style settings. They are completely convenient to use. Once you’ve selected the widget you want to use, just put it to the appropriate location with the help of Elementor.
Once you have a deal with CrocoBlock at least once, you will not be able to use any other web products any longer.
CrocoBlock is not only about the products it offers, yet it is also about constant updates, development, and new functions added to the existing ones. When new Jet plugins are ready, they have added to the subscription right away. The same applies to skins that are released every single week.
Yet, this is not the end to all of the advantages CrocoBlock provides. Going with the subscription service, you get a professional support team out of the box. If any issue occurs with installation or you are not certain about service functionality, feel free to communicate any of your questions to a team.
Experts are always ready to help you. If you have an emergency inquiry, make sure to contact the team directly on the Facebook page or through presale chat.
To sum up, CrocoBlock provides a complete set of products required for building a site with Elementor. Each product included in the package has its own distinctive place and designated purpose.
Furthermore, it is suitable for non-techies, beginning developers, and coding experts. Advertising all-in-one concept, CrocoBlock has changed the way websites are created. This is what everyone has been waiting for.
WPBN is curated news aggregator website focusing on trending and hot news from the WordPress community.

![Elementor Addons Review: CrocoBlock [+Free Kava theme]](https://wpbreakingnews.com/wp-content/uploads/2019/09/Croblock-elementor.png)


